How to get the best fry bread.
You can do this. We believe in you.
Don’t panic. You got this.
Make it stand out.
Secrets to Perfect Fry Bread
First of all, we all know that there are as many different types of Fry Bread as there are Fry Bread cooks. These suggestions are derived from our own personal experience. We would encourage all ethnic food enthusiasts to sample Fry Bread from different Tribal Nations and different clans at every opportunity. As you may already know, Indian Fry Bread is relatively easy to make. There are, however, a few tips first-time fry bread makers might use to make the bread even better.
They Include:
Making sure the dough has the proper moisture content.
Knead the dough lightly and roll to the proper thickness.
Fry at the proper temperature.
MAKE SURE YOUR DOUGH HAS THE PROPER MOISTURE CONTENT.
First, let’s talk about mixing Ha-pah-shu-tse with water. We have found our ability to fine tune the moisture content of the dough to be easier if, while adding water, we mix by hand. The dough, when properly mixed, will be a bit “wetter” than most bread dough. We suggest you add the prescribed amount of water gradually as you mix by hand. As a test, I like to fill my hand with dough above a bowl, flatten my hand, fingers together and palm vertical (as if ready to give a stiff handshake.) If the dough immediately falls off my hand, it’s too wet. If it doesn’t fall off at all, it’s too dry.
When perfect, the dough will “crawl” off your hand slowly and drop back into the bowl. Patience is a virtue. If you must mix your dough and fry it immediately, you will get satisfactory results. If you can mix 2-4 hours ahead of your frying time, or better yet the night before, your bread will be lighter and more pleasing to the eye on the table. After mixing and the dough is quite wet, we have found it convenient to put the dough in a plastic bag and refrigerate until needed, especially when preparing large quantities. This allows you to squeeze manageable portions of dough onto your work surface without having to lift heavy mixing bowls or reach into wet dough after you have started frying.
KNEAD THE DOUGH LIGHTLY AND ROLL TO THE PROPER THICKNESS.
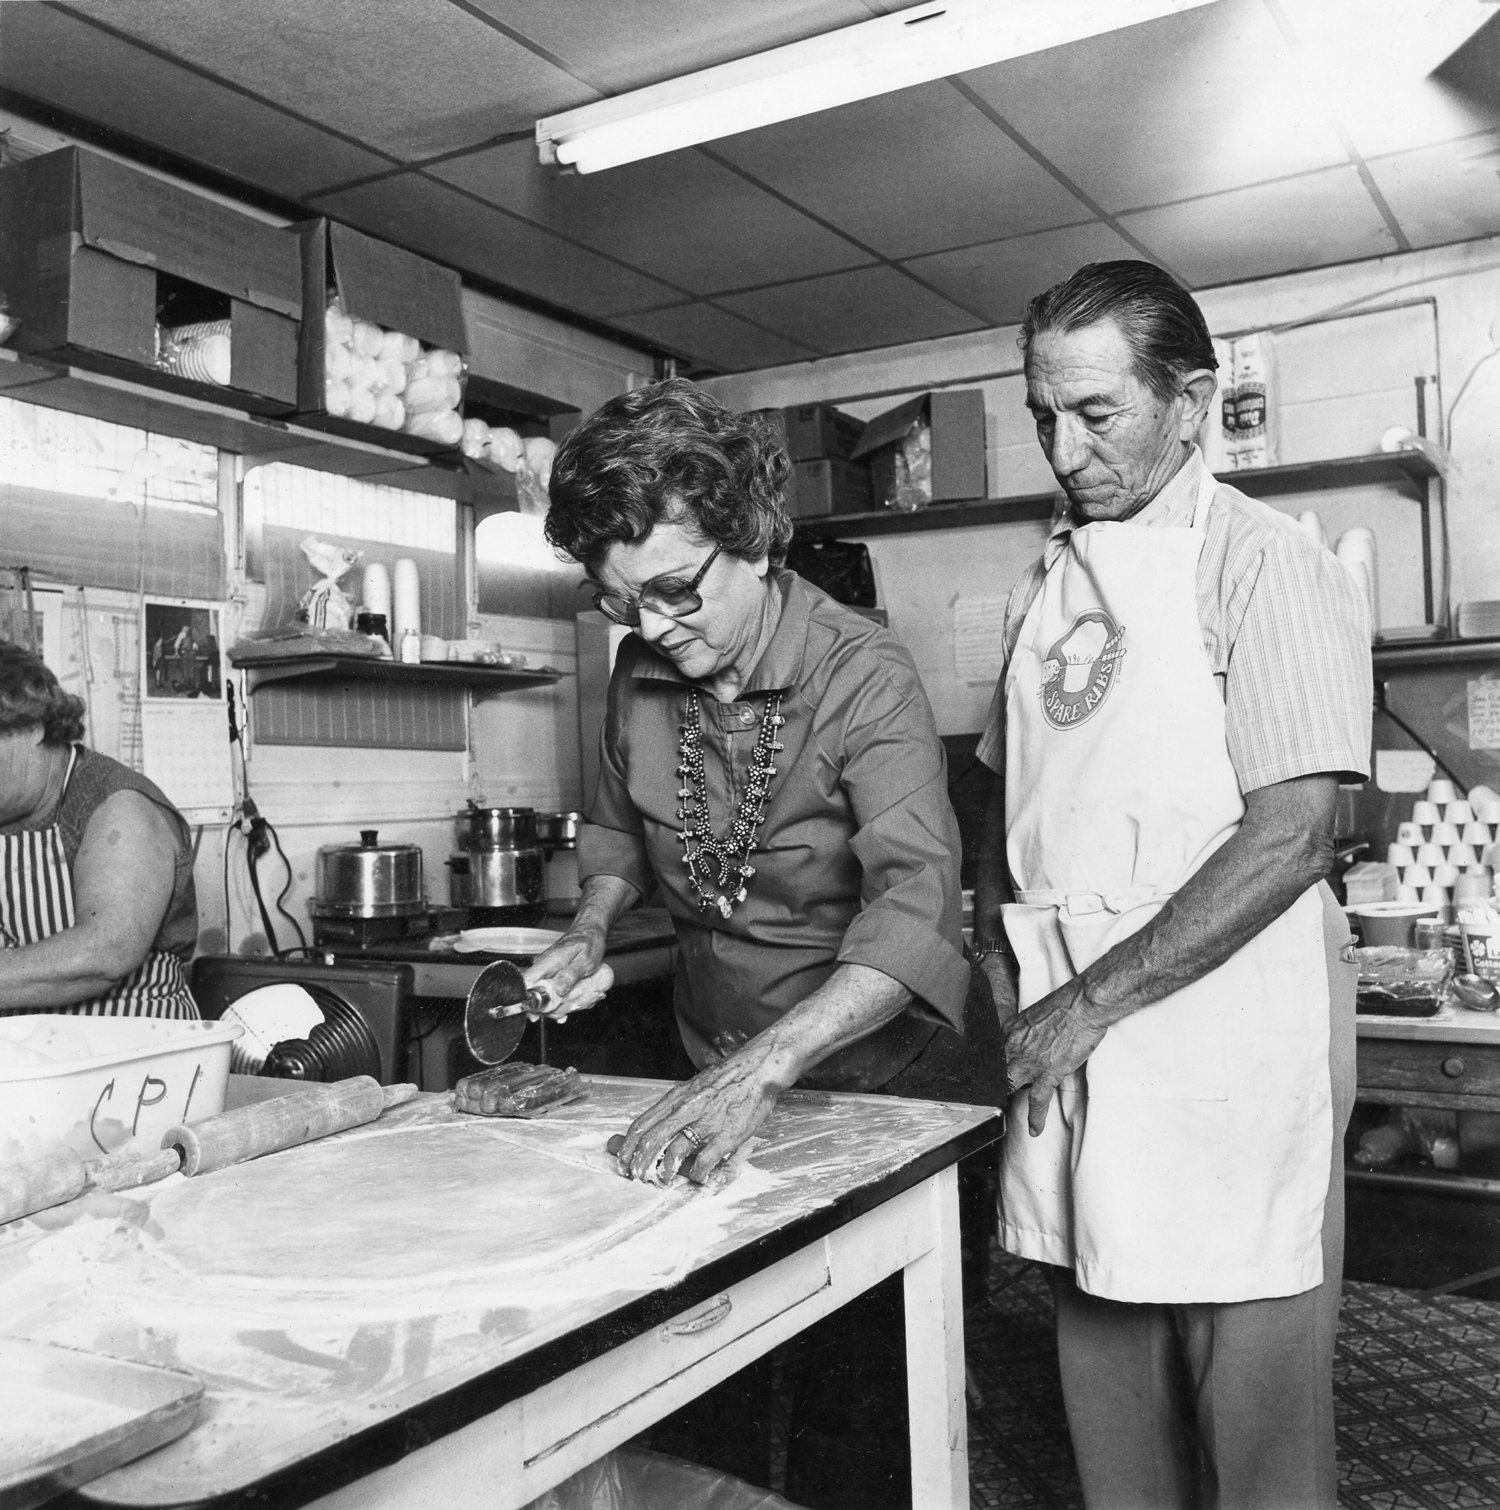
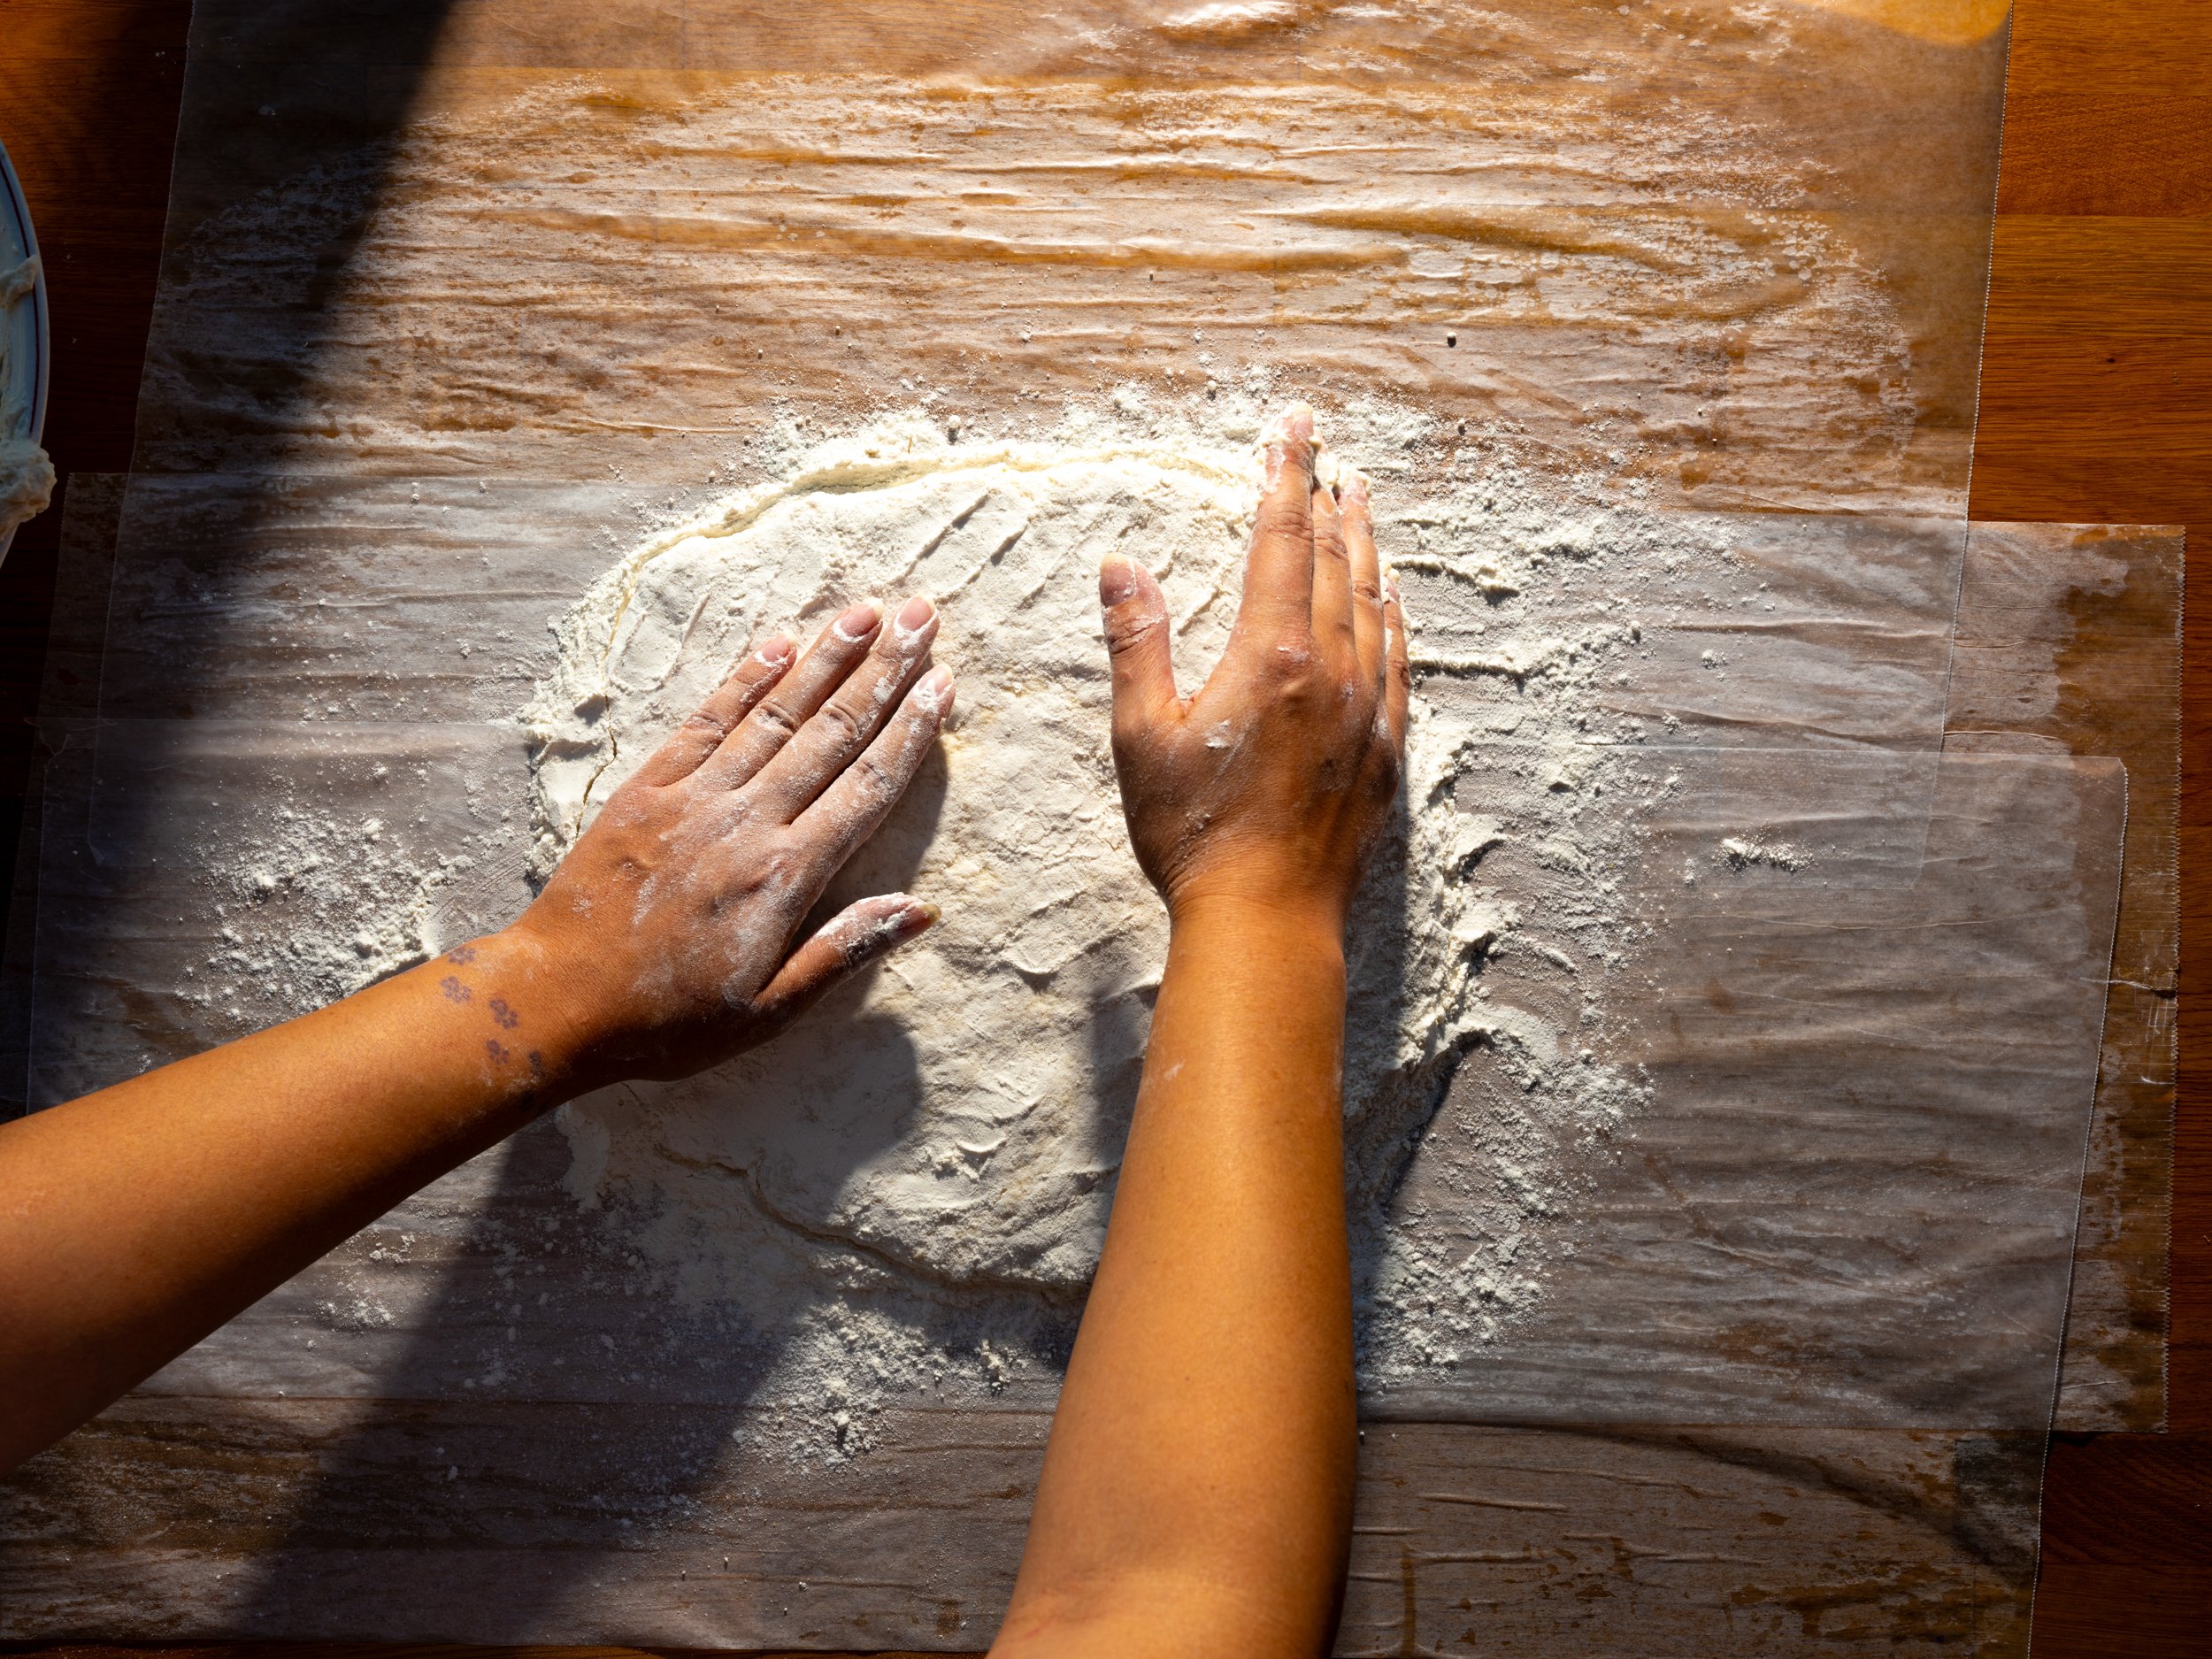
Place a pretty fair amount of flour on your rolling surface and your rolling pin getting as little of it in the dough as possible during the kneading process. KNEAD LIGHTLY. Turn your dough only a few times to get enough flour on the dough to prevent your rolling pin from sticking. Roll out your dough no thicker than a child’s jumbo pencil and no thinner than a regular pencil. (The thickness of a lady’s pinky finger is about right.) The Osage ladies that taught me how to make bread used butcher knives to cut the individual pieces of bread. In commercial preparation we use a pizza cutter for speed. The size of the piece is up to you. Bread served at feasts is pretty doggone big, about 3” by 5” before frying. Most folks like it around 3” by 3”. As you are cutting square pieces from rolled-out dough, you’ll have some oddball shapes and sizes.
The next step is considered by many to be the most important. As you pick up the piece of dough, stretch it SLIGHTLY before dropping it in the oil to fry. This is also the time to compensate for having rolled your dough a little too thin or a little too thick. Pieces that are too thick can be pulled a little more to get them closer to an optimum thickness. Pieces you have rolled too thin should be barely pulled at all. You’ll notice the difference as the bread begins to fry. You should be proud when the bread, while frying, “poofs up” so much that you can’t get it to turn over and stay turned over to fry the other side. This doesn’t happen on every piece, even for experienced feast cooks, but when it does, you know the bread will be light and tasty and attractive on the table.
FRY AT THE PROPER TEMPERATURE
As with most range tops, temperatures can vary. To judge whether your cooking oil is the correct temperature, watch how long it takes the bread to “come back to the surface” after you’ve gently dropped it in. Usually, 4-5 seconds is about right. If it stays at the bottom much longer than that, your oil is not hot enough. Keep in mind that several pieces in the cooking oil in rapid succession will cool the oil temporarily, so judge by the first few pieces of bread, as your oil temperature should recover.
PROBLEMS
Sometimes minor problems crop up for first time users of our mix, so we’ll cover those here.
The bread is flat and won’t rise at all during frying:
Make sure your water content in the dough is sufficient.
Mixing and frying immediately can be a contributing factor.
You may have rolled or stretched the dough too thin.
The bread is doughy in the center after frying to a golden brown:
Your frying oil is too hot.
You may have rolled the dough too thick.
Your family and friends insist that you make fry bread more often:
This is a problem we can both live with
We wish to thank you again for your patronage. If you need additional assistance on matters relating to Osage cooking, you may write us an email or call 1-800-280-9745. One of our family members will take your call and if unable to help, refer you to a family member who can. If you get “the machine”, leave a message we’ll return your call as soon as possible.
Sincerely,
Waltena RedCorn

“We would encourage all ethnic food enthusiasts to sample Fry Bread from different Tribal Nations and different clans at every opportunity.”
— Waltena RedCorn


